RainDesk / A practical guide
Put ambient weather behind Mac windows, not in front of the work
How scenes, opacity, local sound and optional timers create a controllable desktop atmosphere without promising productivity.
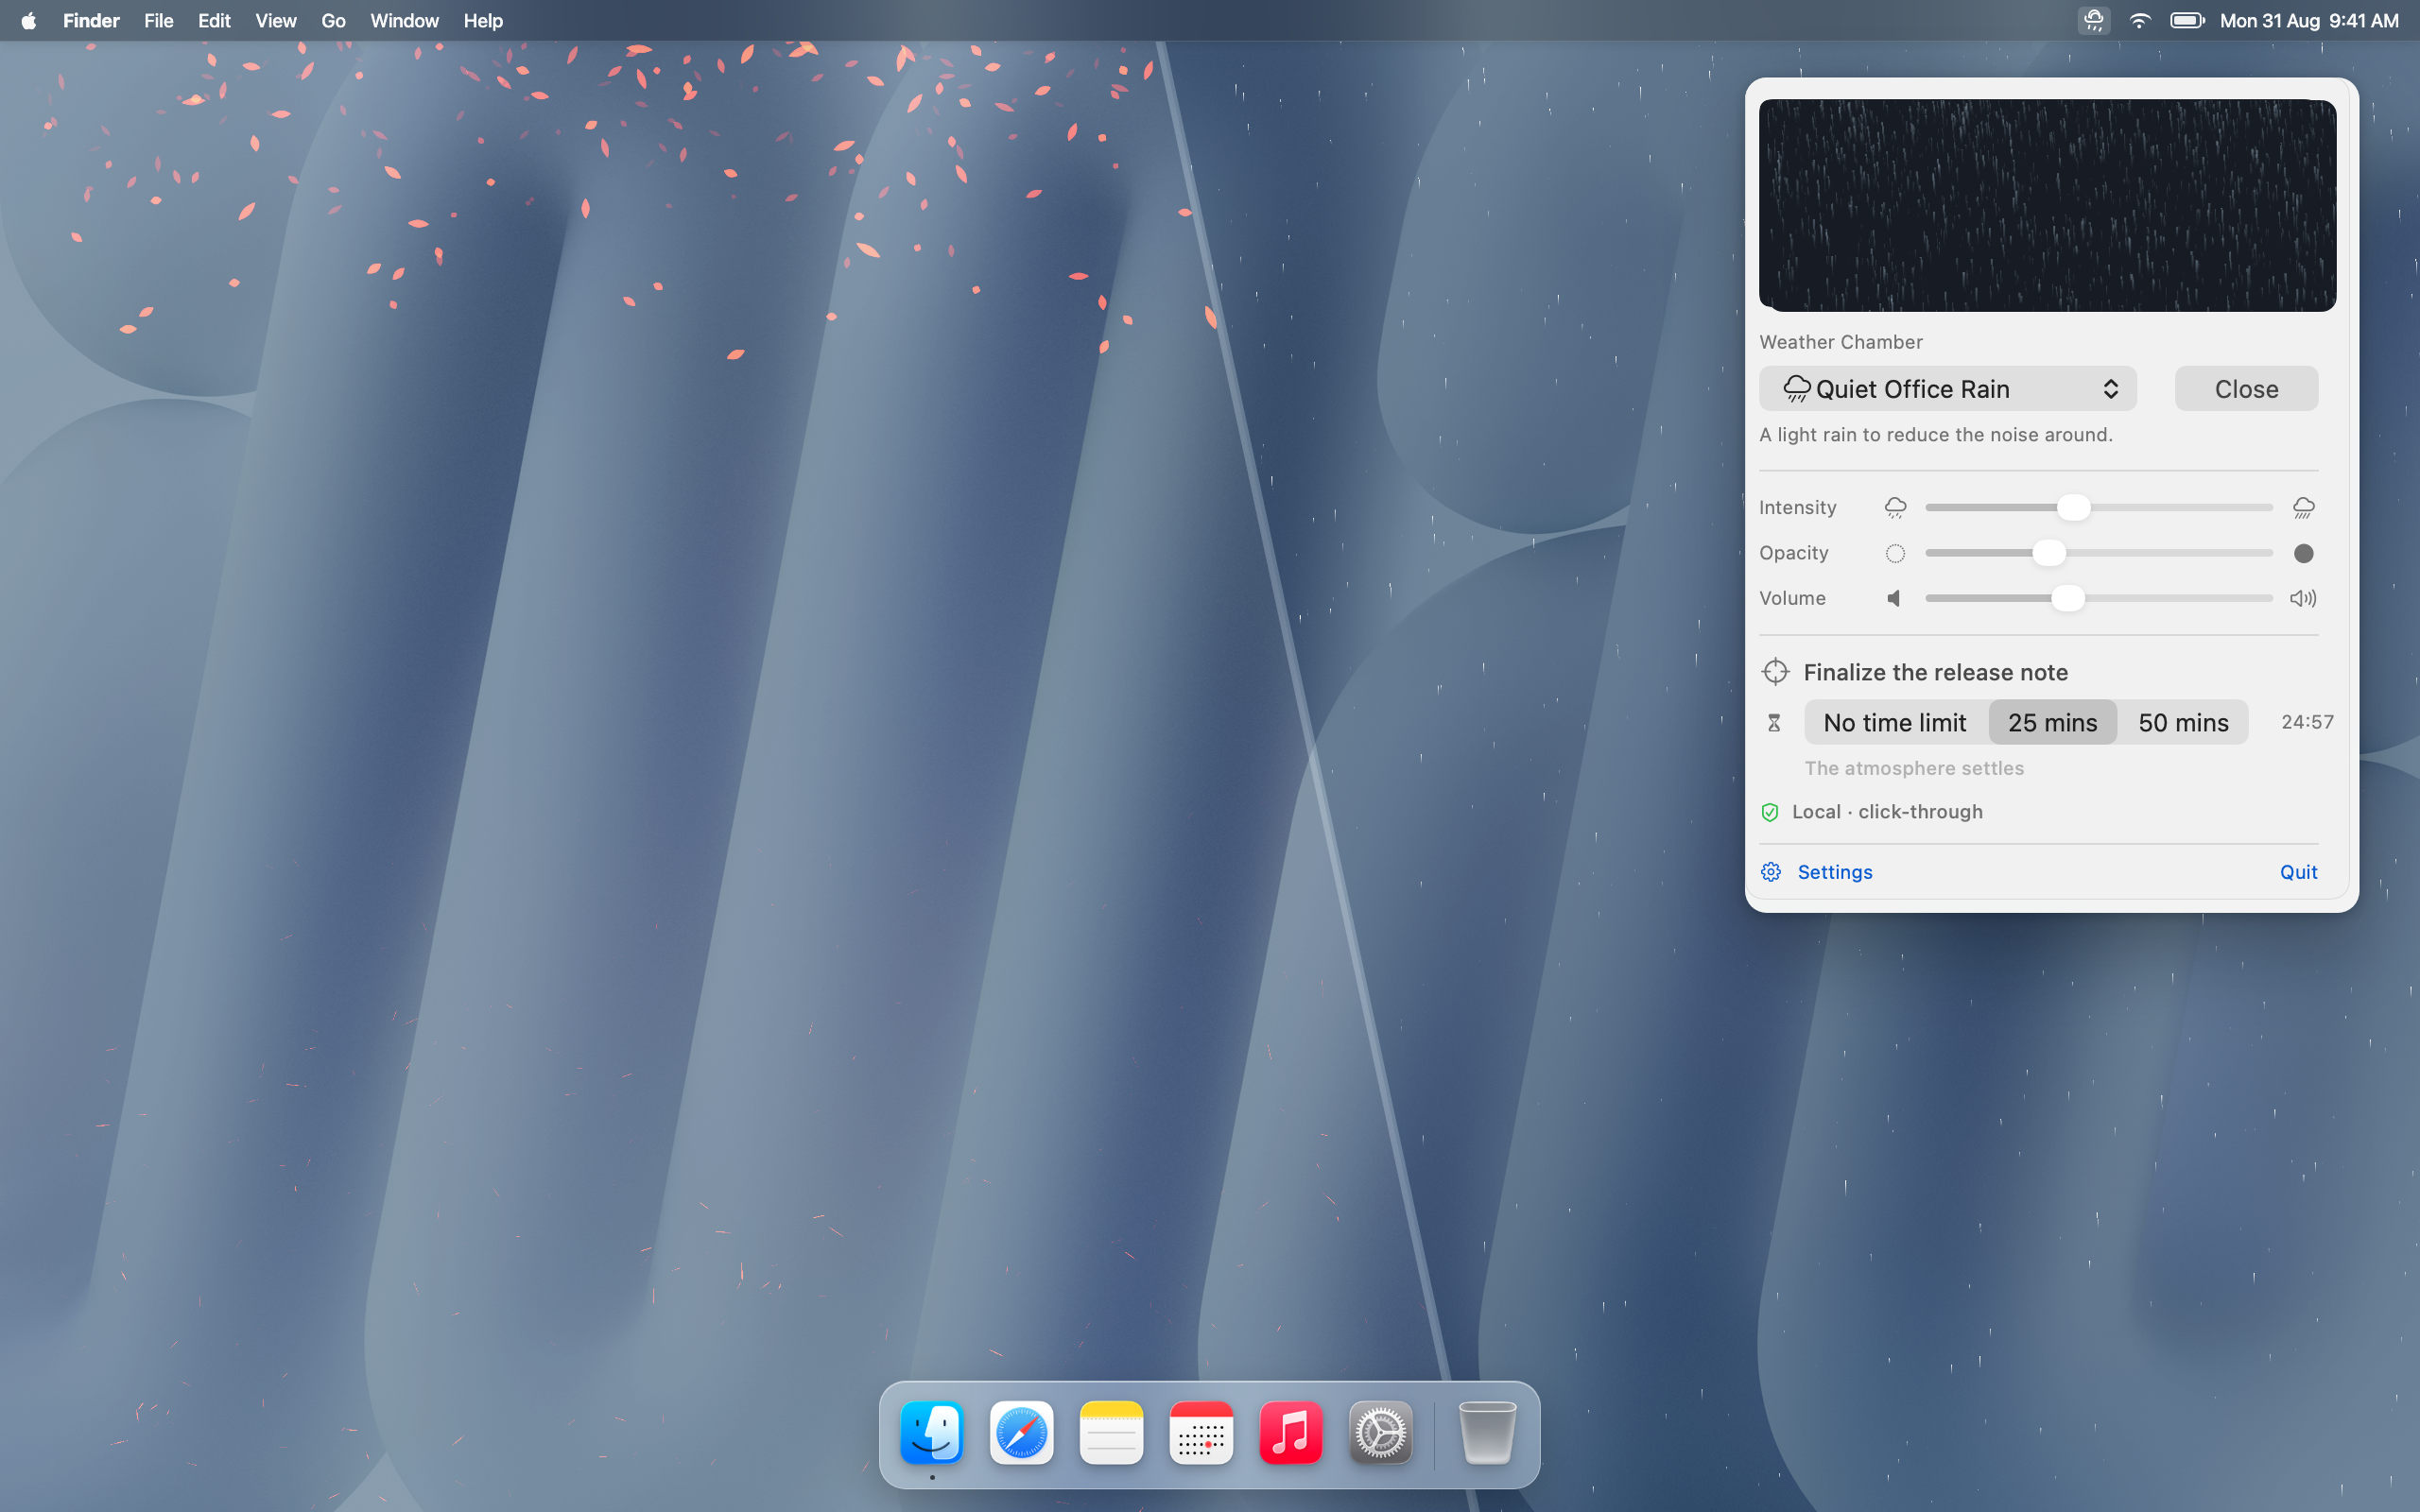
RainDesk puts animated weather behind ordinary Mac windows instead of laying a video over the work. You choose a scene, adjust its visual intensity and opacity, mix a bundled sound layer and leave the foreground apps available for the task at hand.
The public version includes 21 scenes, 12 visual effects and 17 local sound layers. It is a one-time Mac App Store purchase with no subscription. It does not promise better concentration or productivity.
The practical value is simpler: a controllable atmosphere that remains part of the desktop rather than becoming another content window.
How does weather stay behind the windows?
RainDesk renders its atmosphere around the desktop while ordinary app windows remain in front. The overlay is designed to pass clicks through, so the visual layer does not become a transparent obstacle over buttons and documents.
That arrangement is different from playing a full-screen rain video. The Mac’s menu bar, Dock and windows stay recognisable. You can open the RainDesk control from the menu bar, make a change and close it again.
Start with opacity low enough that text and window edges remain easy to read. Then adjust intensity. More particles are not automatically more convincing; a light rain or a few drifting leaves often preserves the desktop better than filling every empty area.
Choose a scene for the room you already have
RainDesk includes rain, snow, fog, leaves, petals, fireflies, dust, sunlight and night scenes. Pick one that complements the light and colour already on the screen.
A dark night scene can give a bright office a quieter frame. Snow or fog can work against a simple wallpaper. Leaves and petals create more visible movement and may suit an idle desktop better than a dense spreadsheet day.
The scene names are starting points, not claims about mental state. “Quiet Office Rain” describes an atmosphere. It does not establish that the scene will reduce stress, improve focus or change performance.
Mix sound separately from the visual
Visual scene and sound layer are independent. You can keep a rain animation silent, pair a restrained sound with another scene or lower the volume until it sits below music and calls.
The bundled sound layers are stored and mixed locally. Use a comfortable volume, especially during long sessions or with headphones. RainDesk is ambience, not hearing protection or a way to mask every distraction.
If a sound becomes the thing you notice most, lower it. The useful setting is usually the one you stop adjusting.
Use a timed session only when it helps
RainDesk offers optional 25- and 50-minute sessions. You can add a short intention, start the timer and let the atmosphere settle when the period ends.
This is not a productivity system or a guarantee that the work will be finished. It is a bounded way to say what you intend to do, keep the chosen atmosphere in place and receive a clear end point.
For a first test, choose a real small task: revise one page, sort one folder or finish one illustration pass. Run a 25-minute session without changing scenes halfway through. At the end, decide whether the atmosphere helped the desktop feel better or merely gave you another control to manage.
What does RainDesk send?
RainDesk 1.0 runs its scene controls locally and does not require an account. This guide covers that manual scene workflow; features prepared for a later version are outside its scope.
RainDesk has no subscription, advertising or analytics in the documented product boundary. Read the RainDesk privacy page for the current exact scope.
Who is it for?
RainDesk fits Mac users who care about how the desktop feels, want visual weather without covering their windows and prefer a one-time purchase. It may not fit someone who wants a live meteorological dashboard, needs a distraction-free static background or uses a managed Mac that cannot install visual utilities.
The right test is visual and immediate: open the apps you actually use, choose one restrained scene and confirm that every control underneath remains easy to reach.
Choose one scene, lower the opacity and use it behind a real document before exploring the rest of the library.